
How to create a webscraping twitter bot in Python

- Python
- Text editor
- Browser
- Patience
Webscraping
Webscraping is one of the most powerful tools that a coder has and it’s the first thing I look to do in each language that I touch. we will be using beautifulsoup for this and you can install it from your terminal with the following:pip install beautifulsoup4
import requests
from bs4 import BeautifulSoup
page = reqeusts.get("http://dev.to")
soup = BeautifulSoup(page.content, "html.parser")
print(soup)
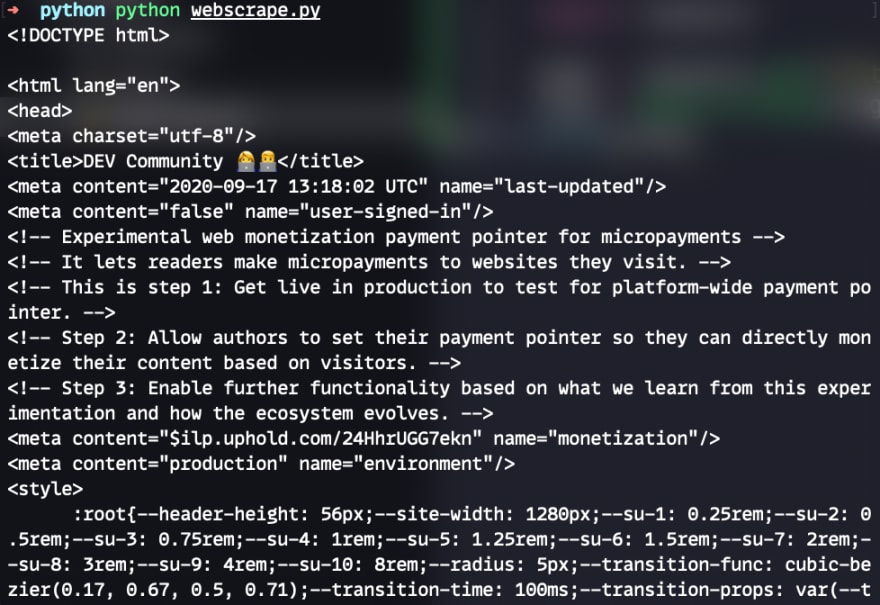 Now we are loading ALL the html from the dev.to which is neither readable nor tweetable. We now need to refine our search using the built in “find” function from bs4. In order to find the titles of each post we need to dive into the HTML of dev.to. We can do this by either reading all the HTML (boring, long, painful) or simply use your favourite web browser to do the same.

 We can see in the DOM above that each title is buried under several HTML classes and ids. In order to get to these we’re going to have to dig through the elements in order to return an array of titles. We can do it like this and I will explain later:
from bs4 import BeautifulSoup
import requests

page = requests.get("http://dev.to")
soup = BeautifulSoup(page.content, "html.parser")
home = soup.find(class_="articles-list crayons-layout__content")
posts = home.find_all(class_="crayons-story__indentation")

for post in posts:
    title = post.find("h2", class_="crayons-story__title")
    print(title.text.strip())
page = requests.get("http://dev.to")
soup = BeautifulSoup(page.content, "html.parser")
bs4.BeautifulSoup object. We can then find objects within this soup of HTML with the following:
home = soup.find(class_="articles-list crayons-layout__content")
posts = home.find_all(class_="crayons-story__indentation")
bs4.element.ResultSet) that we can iterate through as follows
for post in posts:
    title = post.find("h2", class_="crayons-story__title")
    print(title.text.strip())
crayons-story__title and print the stripped title for it. This is the purple section of the highlighted DOM. If everything goes correctly you should see a list of posts like this:
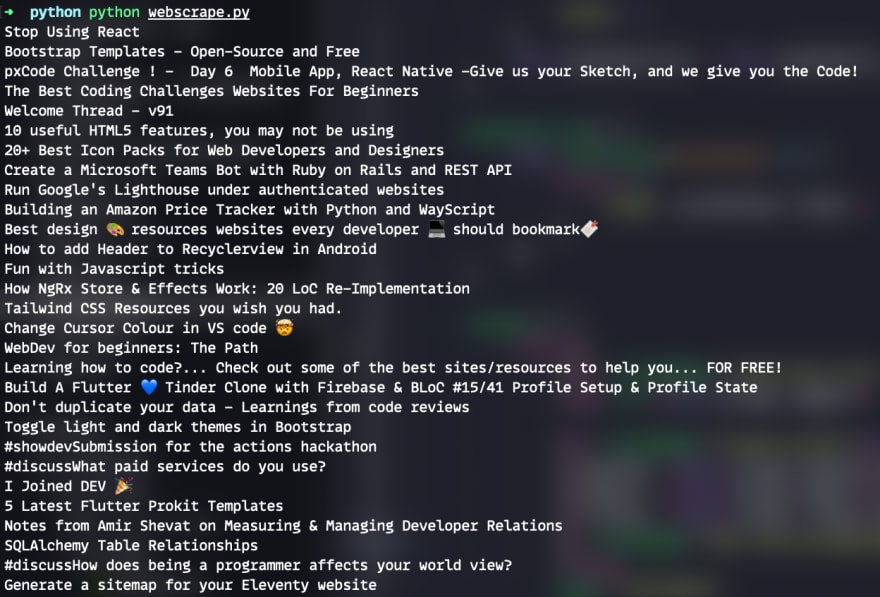 But obviously we only want the first one of these so we can just do the following:
top_post = posts[0].find("h2", class_="crayons-story__title").text.strip()
Stop Using React post. For selecting other elements such as <a href="foo"> tags please check out this tutorial from compjour.
Anyway now we have something that we want to tweet (which can be any string or even images) we can now look at tweeting.
Tweeting
For this we will use tweepy whose documentation is equally as strong and useful as bs4’s and I recommend that you check out. Install in the usual way:pip install tweepy
import tweepy
from bs4 import BeautifulSoup
import tweepy
import requests

def scrape():
    page = requests.get("http://dev.to")
    soup = BeautifulSoup(page.content, "html.parser")
    home = soup.find(class_="articles-list crayons-layout__content")
    posts = home.find_all(class_="crayons-story__indention")
    top_post = posts[0].find("h2", class_="crayons-story__title").text.strip()


    tweet(top_post)

def tweet(top_post):
    consumer_key = "#"
    consumer_secret = "#"
    access_token = "#"
    access_token_secret = "#"
    auth = tweepy.OAuthHandler(consumer_key, consumer_secret)
    auth.set_access_token(access_token, access_token_secret)
    api = tweepy.API(auth)
    api.update_status(top_post)

scrape()
consumer_key, consumer_secret, access_token and access_token_secret are all API keys provided to us by twitter and should be some long, unreadable string. To learn what these tokens actually do I would recommend that you check out the tweepy documentation.
Once you receive the email confirming your API keys be sure to copy them into your function so they function as expected.
Once all of this has been completed we can host our bot on AWS or my personal recommendation heroku. For a good guide on hosting a bot on heroku please check out this great article. Now just run your app and let’s see what you get!
Read the second part where we send out the tweets and tag our ISP for slow internet speed.
If you have any questions about this article or my bad syntax please message me at @jsphwllng
About Author
Joseph
Developer fluent in Rails, MERN and Python. Now learning Go and looking for a position in Berlin.
Please share your Feedback:
Did you enjoy reading or think it can be improved? Don’t forget to leave your thoughts in the comments section below! If you liked this article, please share it with your friends, and read a few more!
